
Motorcycle Drive-Belt Inspection: What You Can Spot Visually—and Why Tension Is Model-Specific
Use this motorcycle drive-belt inspection checklist to spot visible damage, contamination, pulley concerns, and the limits of judging tension by eye.
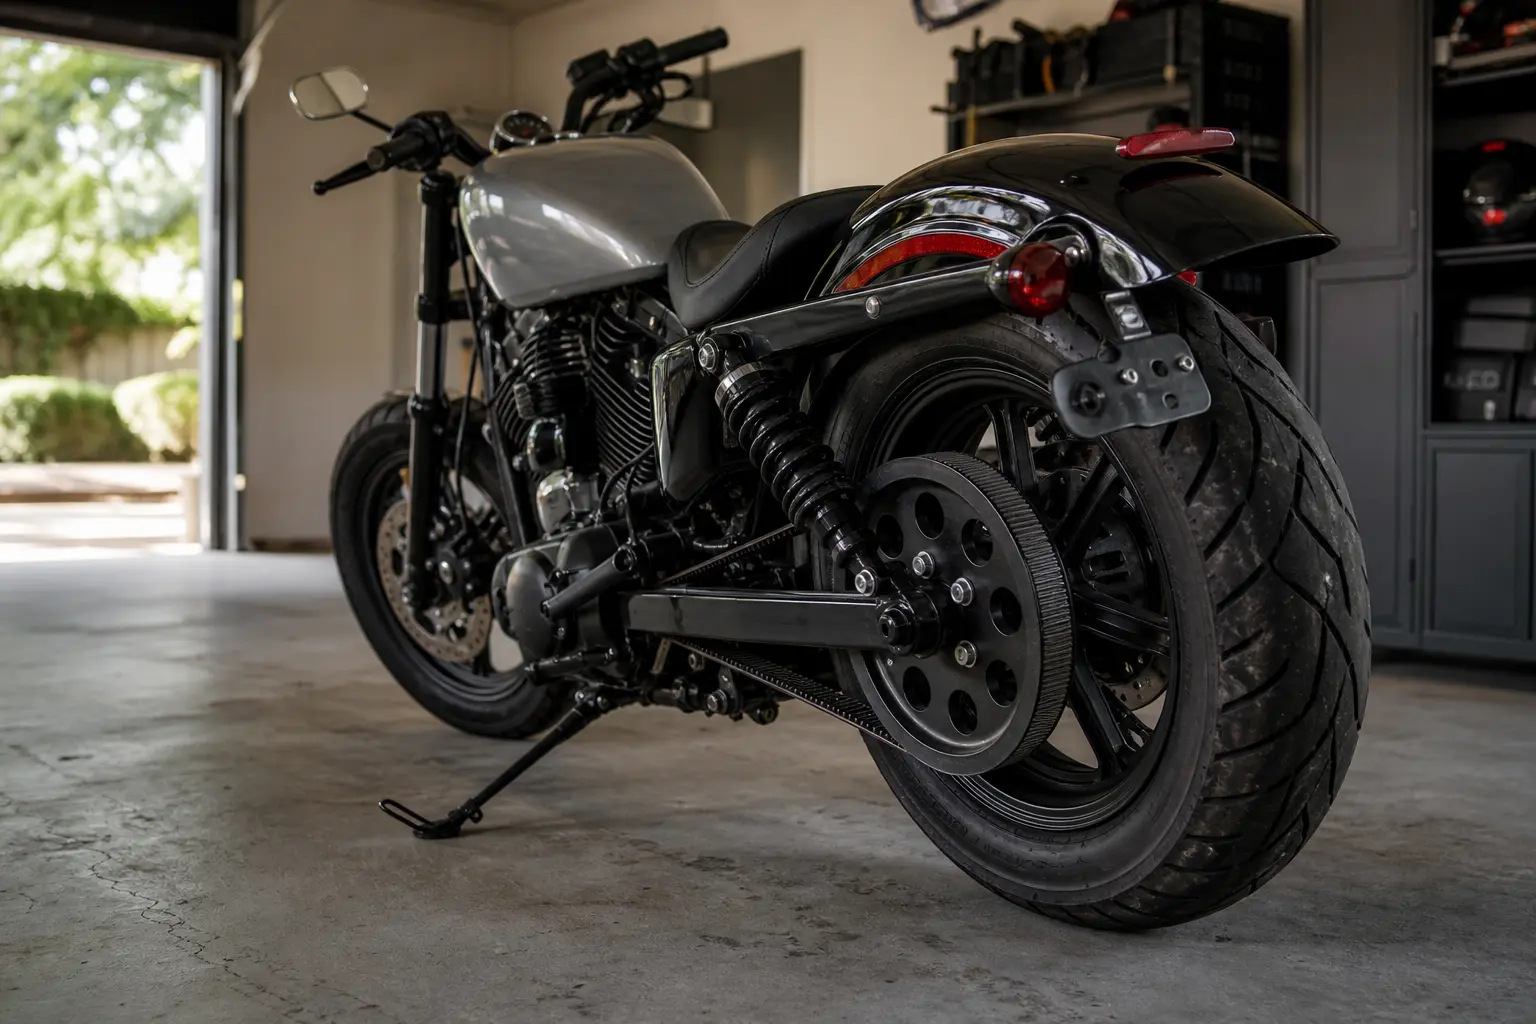
Fact-checked against cited official documentation
Reviewed against Harley-Davidson official belt inspection, handling, and deflection documents covering observable belt and sprocket damage, approved handling cautions, measurement conditions, special tools, and model-dependent specifications..
Last updated October 8, 2026
A belt final drive deserves its own inspection mindset. It is not a low-maintenance version of a chain that can be assessed with chain-cleaning habits, generic slack advice, or a quick tug with a finger. A motorcycle drive belt is a reinforced component running over toothed sprockets or pulleys, and its condition depends on more than how clean it looks in one exposed section.
The useful question is not simply, “Does my belt look okay?” It is: what can I actually verify visually, what should make me stop riding or arrange an inspection, and what must be checked against my exact motorcycle’s manufacturer information?
That distinction matters because some belt concerns are plainly visible: missing teeth, a puncture, pronounced damage at an edge, or exposed internal cords are not subtle findings. Other questions—especially tension, deflection, tracking, and adjustment—depend on the model, the belt’s service status, the motorcycle’s position, temperature, load condition, measurement location, and sometimes a specified gauge or frequency method. Harley-Davidson service material, for example, calls for a specified tension gauge and prescribed test conditions rather than relying on feel. [2]3
This article gives you a conservative visual framework. It does not give an adjustment recipe. If your inspection identifies damage, a potential alignment concern, or a reading outside the specification in your owner’s or service literature, pause the DIY diagnosis and follow the manufacturer’s next step or book qualified service.
For a broader approach that places drivetrain checks alongside tires, brakes, controls, and fluids, see the Motorcycle Maintenance Guide.
Start With the Right Goal: Observe, Don’t “Prove”
A parked inspection is valuable because it can uncover evidence that deserves action before the motorcycle is loaded, ridden at speed, or taken far from home. But it has limits. Looking at a belt does not establish that its tension is correct. Seeing a belt that appears centered does not establish that the rear wheel is aligned. Finding a clean outer surface does not rule out damage on the tooth side, behind a guard, or at a portion of the belt you have not yet viewed.
A good inspection therefore has two outputs:
- A condition finding: no visible concern, monitor item, or no-ride/service concern.
- A documentation finding: what you saw, where you saw it, and whether you confirmed the correct manufacturer inspection and measurement instructions.
That approach avoids two bad outcomes. The first is panic over a minor cosmetic-looking feature that must be monitored but is not automatically a failed belt under the applicable manufacturer guidance. The second is much more serious: dismissing damage because the bike still feels normal or because the belt has not made a noise.
Harley-Davidson’s inspection documentation distinguishes among different belt patterns rather than treating every mark alike. Its material identifies cuts or unusual wear, tooth damage, exposed tensile cords, punctures, cracking at tooth bases, stone damage, and edge-related concerns. It also differentiates some monitor-only conditions from conditions requiring replacement within that manufacturer’s framework. 1 That is a useful principle for every belt-drive rider: describe what is present before deciding what it means for your model.
Safety First: Make the Inspection a Parked-Bike Task
Do not inspect a moving belt, and do not run the engine to watch the final drive. Keep hands, clothing, tools, and loose items away from the belt path and rear wheel. A belt-drive inspection should be a calm, parked-bike check with the ignition state, transmission position, support method, and wheel-rotation method handled exactly as your motorcycle’s documentation permits.
Manufacturer documentation is especially important when a task reaches beyond simple observation. Harley-Davidson service guidance warns that improper handling, installation, or bending of a drive belt can cause premature failure and loss of control. It directs riders to use the appropriate service manual and qualified dealer support when the work or tools are beyond their capability. 4
Use these practical boundaries:
- Visual review is appropriate: looking for dirt, damage, missing material, and obvious abnormalities from accessible areas.
- Cleaning is model-specific: use only the cleaning method and products your manufacturer permits. Do not assume that a chain solvent, brush, dressing, lubricant, or protectant belongs on a belt drive.
- Measurement is a separate task: only measure deflection or frequency if you have the exact specification, test conditions, and required equipment or approved measurement method for the motorcycle.
- Adjustment and component replacement are service tasks: do not improvise a rear-axle adjustment, pulley change, or belt replacement from a generic video or a value copied from another motorcycle.
If you notice damage severe enough to question whether the belt can remain intact, treat that as a transport-or-service decision—not a “short ride home” experiment.
What to Look At During a Visual Belt Inspection
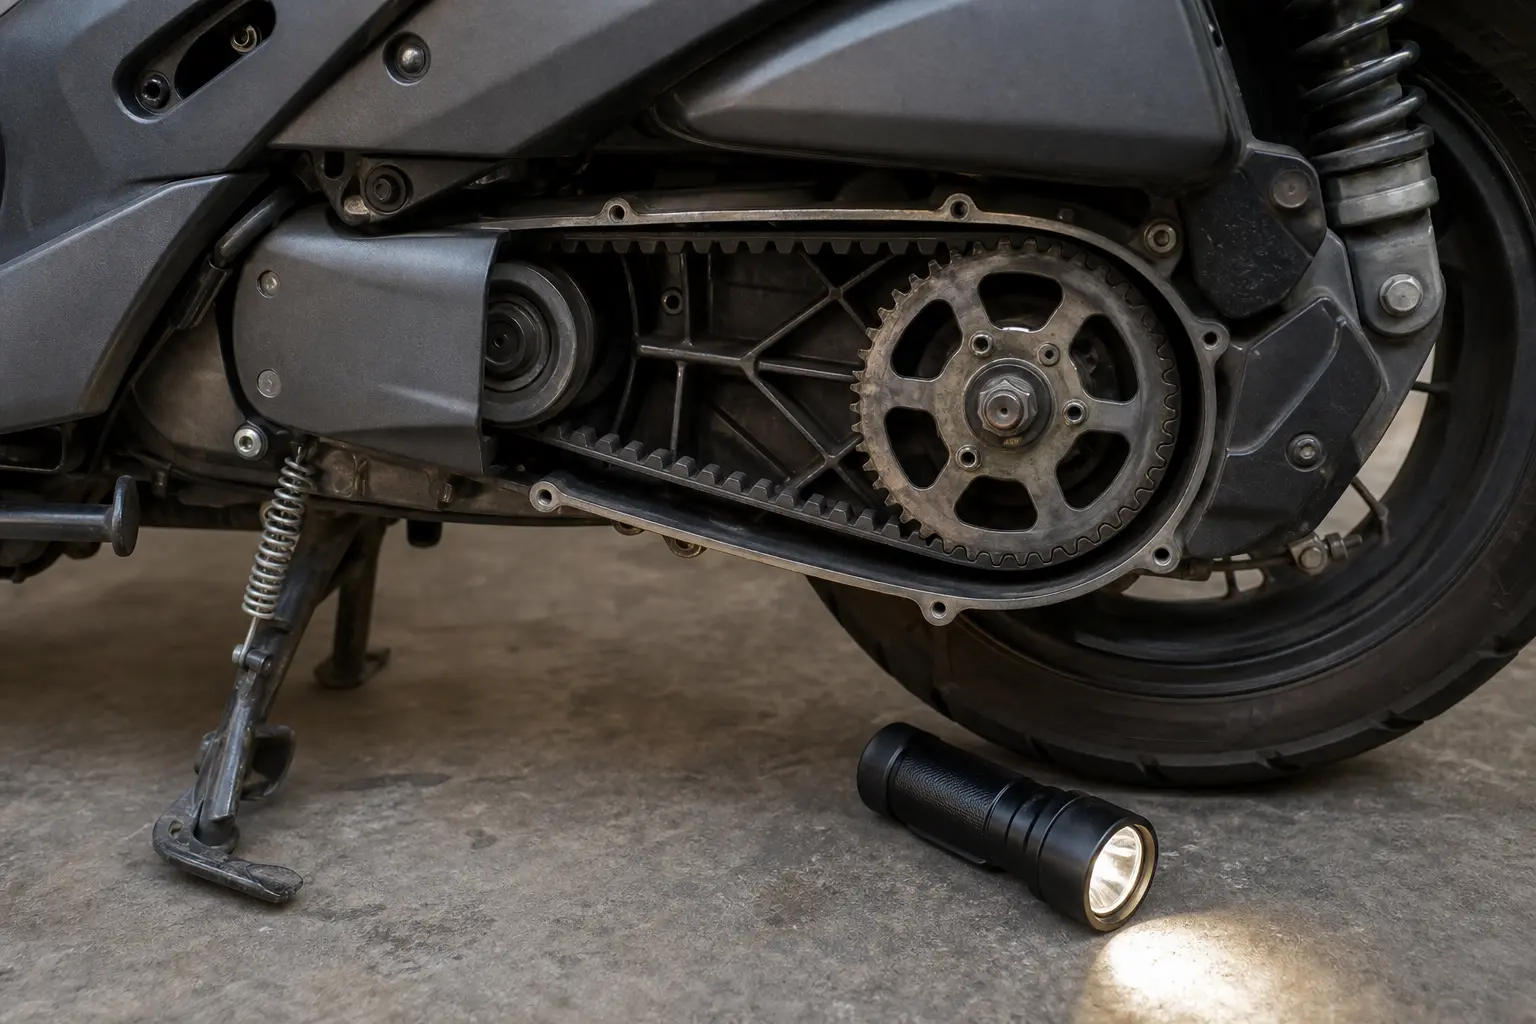
The belt, its teeth, its outside surface, the edges, and the sprockets all deserve attention. You may not see every area without rotating the rear wheel according to your manual, but that does not make a partial glance useless. It simply means you should record what portion you inspected and avoid declaring the entire system clear if sections remained hidden.
Use strong, even light. A small flashlight can make sidewall edges, tooth valleys, embedded debris, and irregular wear easier to see. Avoid scraping at the belt with a sharp pick or using a tool to bend it back for a better look. The objective is to view the component without creating the damage you are trying to detect.
| Inspection area | What you can observe | Why it matters | Conservative next step |
|---|---|---|---|
| Outer belt surface | Cuts, scuffs, stone strikes, abnormal wear, embedded debris | Surface damage can be evidence of contact or impact | Compare with the manufacturer’s damage criteria; arrange service for significant or edge-related damage |
| Belt edges | Fraying, fuzzy material, uneven beveling, nicks, damage reaching an edge | The edge can reveal contact, misalignment concerns, or damage progression | Photograph and monitor only if your manual permits; otherwise have it assessed |
| Tooth side | Missing teeth, cracks, punctures, chipping, exposed reinforcement | Teeth transfer drive force and internal damage may not be cosmetic | Do not assume rideability; use manufacturer replacement criteria and service guidance |
| Tooth base and grooves | Cracks, punctures, debris, unusual marks | Damage may begin where teeth flex and mesh | Clean only by approved methods; seek inspection if damage is present |
| Sprocket teeth | Major tooth damage, gouges, foreign-object marks | A damaged sprocket can harm a replacement belt and affect belt engagement | Have both belt and sprockets assessed as a system |
| Belt path and nearby guards | Rub marks, trapped debris, missing or altered guards | Contact clues can point to a problem outside the belt itself | Do not modify clearances; arrange diagnosis before continuing |
The purpose of the table is not to let a photo replace service data. It helps you look deliberately instead of staring at one convenient lower span and calling the job done.
Motorcycle Drive-Belt Inspection Signs That Need Attention
Cuts, gouges, and unusual wear patterns
A clean straight line on the belt may be incidental residue, while a cut or gouge interrupts material. Do not try to decide by pressing hard, flexing the belt, or digging into the area. Note the location: outside surface, tooth side, tooth base, edge, or a place near a sprocket. Also note whether the mark is isolated or repeated.
A repeated pattern matters because it can suggest recurring contact rather than a single road event. That does not identify the cause by itself. The nearby guard, a trapped object, an accessory, a damaged sprocket, or an alignment-related issue may all require investigation. Your role is to preserve the evidence: take a clear photograph, avoid aggressive cleaning, and describe the location precisely when booking service.
Harley-Davidson’s official inspection material includes cuts and unusual wear patterns among the belt conditions to inspect. 1 The safest general lesson is that an unexplained pattern is not something to conceal with a dressing or treat as normal simply because the motorcycle still drives smoothly.
Damage at the belt edge
An edge deserves unusually careful attention. It is easy to overlook because it may be partly behind a guard, and it is tempting to call a small nick “just cosmetic.” But official Harley-Davidson guidance specifically calls out damage near the edge and differentiates edge-related stone damage from comparable damage elsewhere on the belt. It also notes that some outside beveling can indicate sprocket misalignment, even where its own table categorizes that bevel wear as a monitor condition. 1
Do not turn that into a universal rule that every beveled edge means replacement. It means that a rider should not respond with a generic adjustment. An edge observation should trigger three questions:
- Is the edge actually damaged, frayed, cut, or missing material?
- Is the mark isolated, or does it extend around more than one visible area?
- Does your manufacturer characterize this appearance as monitor-only, replace, or inspect further?
If a crack or other damage reaches the edge, use the manufacturer’s guidance rather than guessing from mileage, age, or comments online. The exact location changes the decision.
Tooth damage: missing material, cracking, and punctures
The tooth side is not merely the hidden side of the belt; it is the surface that engages the sprockets. Look at several accessible teeth and their bases. You are looking for missing teeth, cracking, punctures, chunks missing from tooth material, or an irregular shape that repeats.
Harley-Davidson’s inspection guidance identifies external tooth cracks and missing teeth as replacement conditions within the cited procedure. It also directs replacement for puncture or cracking at the base of the belt teeth. 1 Those are strong examples of why a belt-drive inspection should be conservative: a rider cannot safely substitute a hand-feel test or an internet consensus for manufacturer damage criteria.
Hairline-looking lines deserve more nuance. One official Harley-Davidson table distinguishes internal tooth cracks that may be monitored from external tooth cracks that require replacement. 1 That distinction is exactly why photographs, lighting, and correct terminology are useful—but it is not a reason to self-classify a questionable crack optimistically. If you cannot confidently determine which surface or condition you are seeing, treat it as an inspection finding that needs manufacturer or professional review.
Exposed cords or reinforcement
Any evidence that an internal reinforcing layer is exposed moves the finding out of the “keep an eye on it” category. Harley-Davidson’s procedure says the tensile cords are normally covered and instructs replacement action when they are exposed. 1
From the rider’s perspective, the key point is simple: do not trim, glue, coat, tape, or otherwise disguise exposed material. Do not rely on whether the belt still tracks, whether it has made noise, or whether a short route seems manageable. Record the finding, stop using the motorcycle until you have followed model-specific direction, and arrange appropriate service.
Stone strikes and embedded debris
Road debris can leave a visible impact mark, lodge briefly in the tooth area, or damage a sprocket as well as the belt. Harley-Davidson’s official material advises inspection of the sprockets when stone damage to the belt is present. 1 That makes sense as an inspection principle: the object that marked the belt may also have marked the mating component.
Never attack embedded debris with a screwdriver, knife, or other sharp object. If debris is loose and removal is explicitly supported by your owner’s manual, follow that manual. If the item is embedded, the belt is cut, or the nearby tooth area is damaged, leave it for qualified evaluation. The cost of an uncertain inspection is far lower than the consequence of harming the belt while attempting to “clean it up.”
Sprocket tooth damage and grooves
A belt system is not healthy merely because the belt looks intact. Inspect accessible sprocket teeth for major damage or gouges from hard objects. Harley-Davidson’s procedure calls for inspection of each sprocket tooth and replacement of sprockets when major tooth damage exists. 1
You do not need to name a tooth profile defect to report it well. “A gouge on two adjacent rear sprocket teeth,” “a chipped tooth edge near the lower belt run,” or “a repeating polished mark at the same position” is useful information. Include a photo from a consistent angle and the motorcycle’s mileage or date of the inspection.
Avoid a piecemeal mindset after an impact event. If one part of the belt path shows physical damage, the belt, sprockets, tensioner or idler where fitted, guards, and surrounding clearance all deserve an appropriate review. The manufacturer’s service literature is the authority on which associated parts must be renewed or inspected for your motorcycle.
What Dirt, Oil, and Grease Can—and Cannot—Tell You
Contamination is not a diagnosis, but it is evidence. Dirt may obscure damage. Grease or oil may be a spill, residue from unrelated maintenance, road contamination, or a sign that something elsewhere needs attention. Do not assume a belt is “lubricated” because it has an oily film; belt systems are not chain systems.
Harley-Davidson’s inspection procedure directs that dirt, grease, oil, and debris be kept off the belt, sprockets, and belt tensioner, and specifies a light cleaning agent on a slightly dampened rag in that procedure. 1 That is manufacturer-specific cleaning guidance, not a universal product recommendation for every belt-drive motorcycle.
A sensible response to contamination is:
- Check your exact owner’s manual for approved cleaning guidance.
- Avoid adding chain lubricant, petroleum products, tire shine, silicone dressing, or unapproved cleaners.
- Before cleaning, photograph any suspicious mark so a stain is not mistaken later for damage—or damage mistaken for a stain.
- After cleaning only as directed, reinspect under good light.
- If oil or grease returns, identify the source through qualified diagnosis rather than repeatedly wiping it away.
The goal is not a showroom finish. The goal is a belt and sprocket area clear enough to inspect, with no unapproved chemical experiment added to the problem.
Why Tension Is Model-Specific, Not a Thumb Test
This is the point where chain-maintenance advice becomes actively unhelpful. A belt may look tight, feel tight, or appear to have “about the right” movement and still be outside the correct measurement range for its particular model and condition. Conversely, a value copied from another motorcycle may be wrong even if the two bikes look similar.
The official Harley-Davidson documentation used for this article shows why. It specifies test conditions such as ambient temperature, an unladen motorcycle, a defined support position, and a particular measuring tool and force. [2]3 Other Harley-Davidson documents show different deflection ranges across model applications, and some distinguish specifications for a new belt versus a belt that has accumulated use. 3 That is direct evidence that there is no safe generic “belt slack number.”
The variables can include:
- the exact motorcycle model and model year;
- the installed belt and drive configuration;
- whether the belt is new or in service, where specified;
- temperature and load condition;
- motorcycle support position and wheel contact condition;
- the designated measurement location;
- the required force, gauge, deflection window, or frequency method;
- the need to evaluate more than one point around the belt.
The correct rider takeaway is not “buy any gauge and adjust it yourself.” It is: find the exact manufacturer procedure first. If the manual specifies a gauge, frequency meter, app, deflection window, special conditions, or dealer involvement, those are part of the measurement—not optional details.
Do not use a ruler-and-thumb estimate as confirmation. Do not use a chain slack specification. Do not set tension based on a friend’s belt-drive bike. And do not infer correct tension from quiet operation alone. A belt can be a serious drivetrain concern before it becomes an obvious ride symptom.
A Practical Visual Inspection Checklist
Before you begin
- Park on stable, level ground and let the motorcycle reach the condition specified by its manufacturer before any measurement work.
- Read your exact owner’s manual for its inspection interval, permitted access, cleaning instructions, and belt-deflection method.
- Keep the engine off; do not inspect a running drivetrain.
- Use adequate light and a clean phone camera for documentation.
- Do not bend, twist, kink, pry, or force the belt to improve access.
- Do not remove guards, lift the motorcycle, or rotate the wheel unless your manual gives you a safe, applicable method.
Visual belt and sprocket review
- Inspect the accessible outer belt surface for cuts, gouges, foreign-object impacts, and unusual wear.
- Check both edges for nicks, fraying, uneven beveling, or damage that approaches or reaches an edge.
- Inspect accessible teeth and tooth bases for cracks, missing material, punctures, and irregular patterns.
- Look for exposed internal cord or reinforcement material.
- Check accessible sprocket teeth for major damage or hard-object gouges.
- Look around guards and the belt path for rub marks, trapped debris, or evidence of unwanted contact.
- Note dirt, grease, or oil, but do not use unapproved products to remove it.
Decide what happens next
- No visible issue: record the date and repeat at the model’s stated interval or pre-ride cadence.
- Uncertain mark or monitor item: photograph it, note the location, and compare it with your exact manufacturer material.
- Damage, missing teeth, exposed cords, puncture, major sprocket damage, or an unexplained contact pattern: do not guess; arrange model-appropriate service guidance.
- Tension question: use the correct manual, conditions, and specified tool or have a qualified technician measure it.
A Better Way to Record What You Find
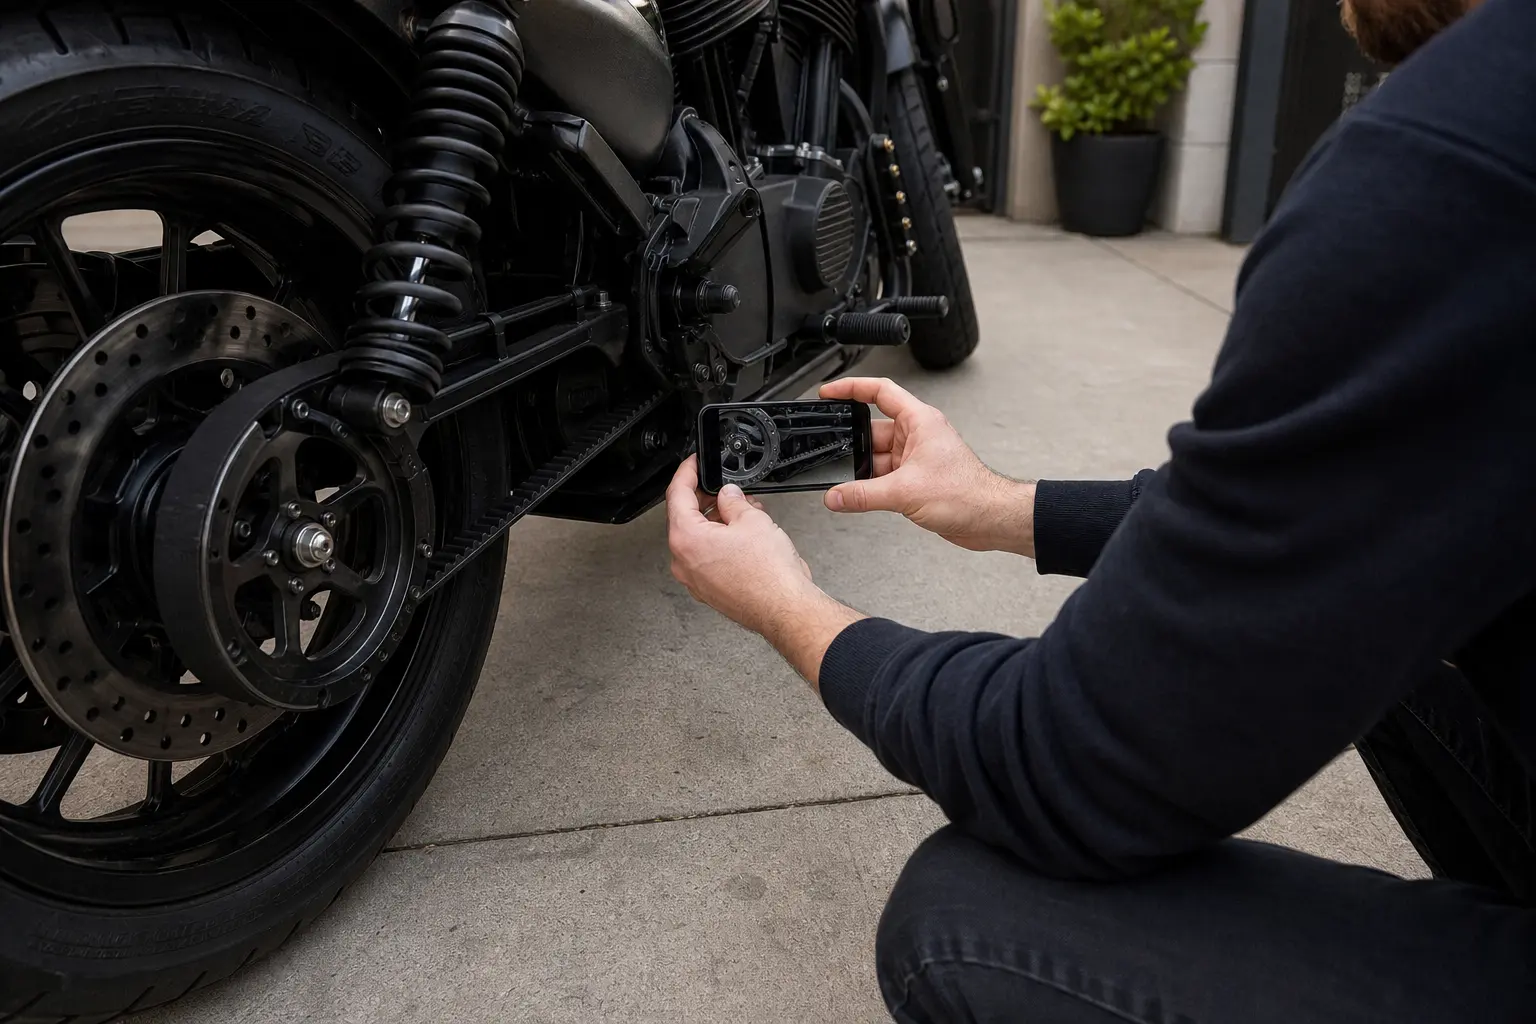
A short record turns a vague worry into a useful service conversation. Instead of writing “belt looks worn,” capture the evidence in a way that lets you compare it later.
Record:
- date and odometer reading;
- whether the check was routine or prompted by a stone strike, noise, service visit, or visible contamination;
- which belt areas were visible and which were not;
- the exact location of each mark, such as “outer face, lower run, near rear sprocket”;
- photos taken before cleaning;
- what manufacturer document you consulted;
- whether tension was only observed visually or measured with the exact specified process;
- the action you chose: monitor, dealer inquiry, inspection appointment, or no ride.
This record is especially valuable when a small condition changes slowly. It also prevents false confidence after a cleaning session: the belt may look different because residue was removed, not because the underlying issue disappeared.
How Vojo Helps
Create a recurring drivetrain inspection in the motorcycle maintenance tracker using your motorcycle’s manual interval, then complete it before a ride or scheduled service. Add photos of any edge mark, tooth concern, debris strike, or contamination; log the odometer reading and the manual section you checked; and set the task status to “monitor” or “book service” rather than relying on memory. This builds a chronological record that makes changes easier to spot and gives a technician a clearer starting point.
Download Vojo on the App Store
When a Visual Check Is Not Enough
A visual check is incomplete whenever the question is inherently a measurement or diagnosis question. Examples include whether the belt meets the exact deflection or frequency specification, whether the system is aligned, whether an edge pattern stems from a component relationship, or whether contamination is coming from a leak.
The answer is not to become more forceful with the inspection. It is to escalate appropriately. Consult the owner’s manual and service information for your exact motorcycle, then use a qualified dealer or technician when the manual directs special equipment, adjustment, replacement, or more extensive disassembly.
This is also the right choice after a significant impact, a belt-related service history you cannot verify, or a finding you cannot confidently classify. A no-ride decision can feel inconvenient, but it preserves safety margin when the final-drive component is uncertain.
Bottom Line
The most useful motorcycle drive-belt inspection signs are visible damage and evidence: cuts, missing teeth, punctures, cracks, exposed cords, suspicious edge damage, foreign-object marks, contamination, and damaged sprocket teeth. Those are observations you can document carefully without pretending to perform a full diagnosis.
Tension is different. It is measured against an exact procedure for an exact motorcycle. Manufacturer documentation demonstrates that the correct conditions, tools, locations, and acceptable values can vary by model and belt condition. Treat a visual check as the first layer of belt care, then let the owner’s manual and qualified service determine the next layer whenever measurement or adjustment is involved.
Sources
1 Harley-Davidson, Inspect Drive Belt and Sprockets.
2 Harley-Davidson, Manual Belt Deflection Measurement.
3 Harley-Davidson, Manual Belt Deflection Measurement.
4 Harley-Davidson, Drive Belts instruction sheet.
Quick answers
Frequently asked questions
What are the main motorcycle drive-belt inspection signs?
Look for cuts, unusual wear, missing teeth, cracking, punctures, exposed internal cords, edge damage, debris marks, contamination, and major damage to accessible sprocket teeth. Document the location and compare the finding with your exact manufacturer guidance.
Can I tell whether my motorcycle belt is too tight or too loose by feel?
No. A hand-feel check is not a reliable confirmation of belt tension. Manufacturer procedures can require specified temperature, motorcycle position, load condition, measurement point, force, and a particular gauge or frequency method.
Is a small mark on the edge of a drive belt safe to ignore?
Do not automatically ignore it or automatically condemn the belt. Photograph the mark, note whether it is a cut, fraying, bevel wear, or impact damage, and compare it with the damage criteria for your exact motorcycle. Edge-related damage deserves a conservative response.
Should I put chain lube or belt dressing on a motorcycle drive belt?
No generic product advice is safe. Use only the cleaning and maintenance products your motorcycle manufacturer permits. A belt drive should not be treated as a chain drive, and unapproved chemicals can obscure the condition you need to inspect.
What should I do if I find a missing belt tooth or exposed cords?
Treat it as a serious service finding. Do not attempt to patch, glue, trim, or disguise the belt. Follow the manufacturer’s replacement guidance and arrange qualified inspection or transport as appropriate.
Do I need to inspect the sprockets when the belt has stone damage?
Yes, the belt and sprockets should be considered together. Harley-Davidson’s inspection guidance specifically calls for sprocket inspection when stone damage to the belt is found. Your motorcycle’s own service literature determines the required remedy.