
The Two-Layer Motorcycle Pre-Ride Check: A Fast Go/No-Go Scan Plus a Parked-Bike Inspection
Use a two-layer motorcycle pre-ride inspection checklist: a quick go/no-go scan before every ride and a deeper parked-bike review when something changes.
Fact-checked against cited official documentation
Reviewed against Fact-checked against MSF T-CLOCS inspection categories, MSF’s before-every-ride guidance, owner’s-manual priority statement, and Basic RiderCourse familiarization material..
Last updated September 23, 2026
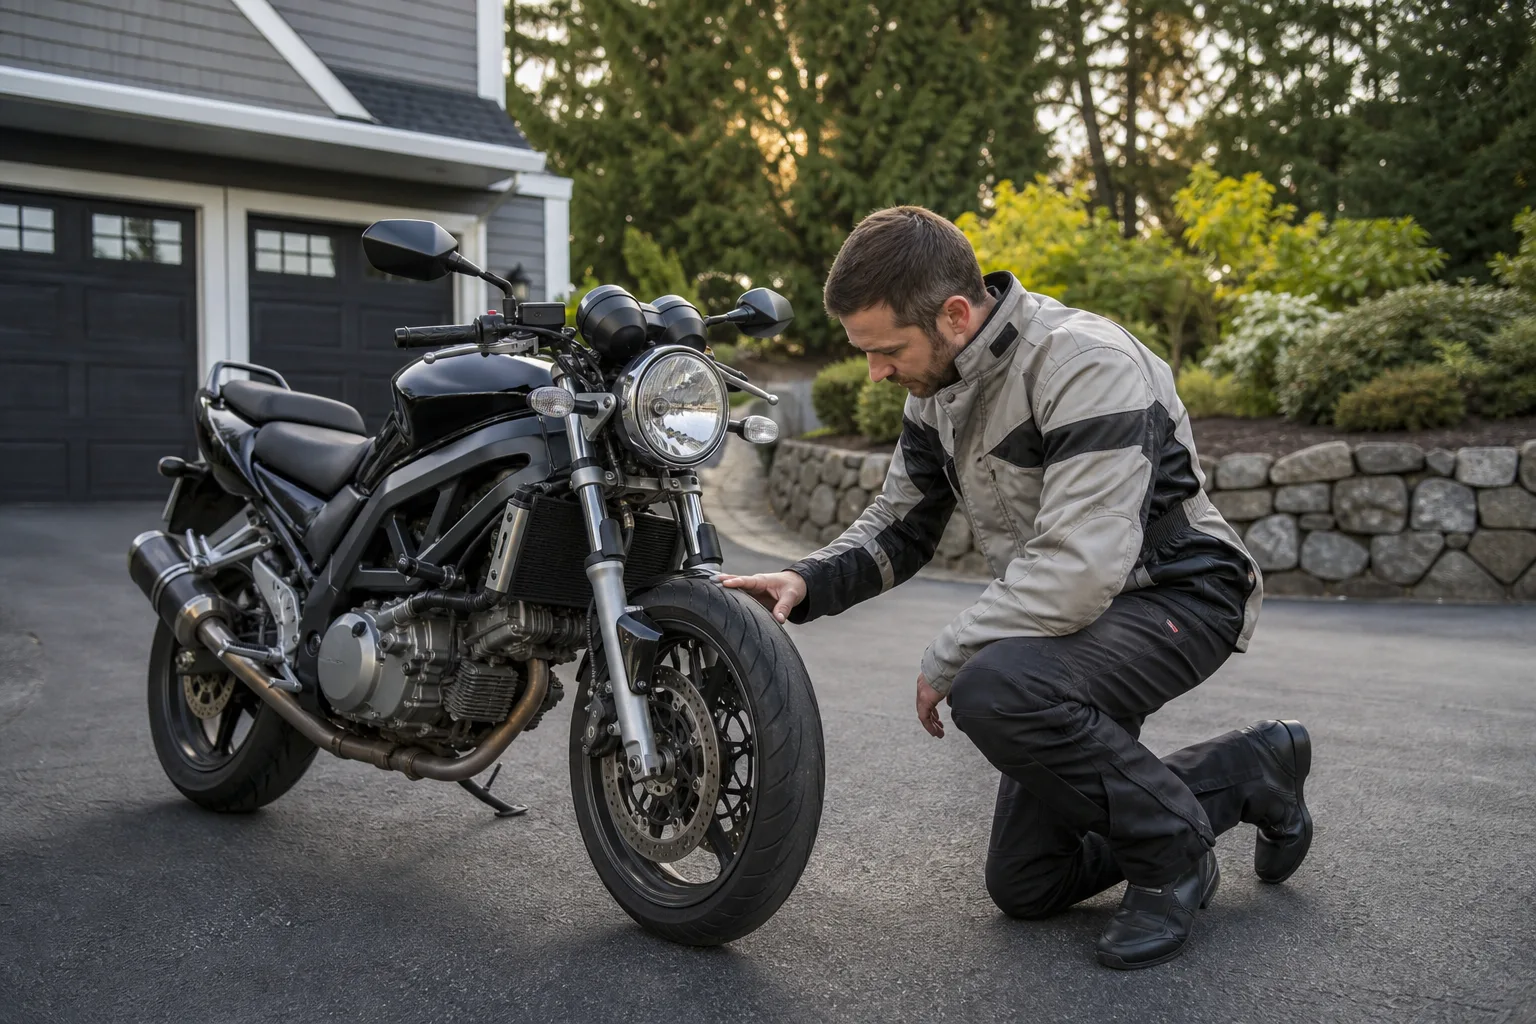
A useful motorcycle pre ride inspection checklist has two jobs: catch an obvious no-go condition before you leave, and prevent a minor change from being ignored just because the bike still starts.
The first job is quick. It is a repeatable walk-around and control check before every ride. The second is slower and happens with the motorcycle parked when you spot a concern, notice a change in behavior, return after storage, add a passenger or luggage, or reach a service point in the owner’s manual.
That distinction matters. A general checklist can help you notice a problem, but it cannot supply your motorcycle’s approved tire pressures, fluid-check conditions, wear limits, capacities, or service requirements. Use the owner’s manual as the deciding document for those model-specific details.
The Motorcycle Safety Foundation organizes pre-ride awareness around T-CLOCS: Tires and wheels, Controls, Lights and electrics, Oil and other fluids, Chassis, and Stands. Treat it as a memory framework—not permission to ride when something looks wrong. See the broader Motorcycle Maintenance Guide for the routine behind the daily scan.
The two-layer decision
| Layer | When to use it | Goal | Outcome |
|---|---|---|---|
| Layer 1: go/no-go scan | Before every ride | Notice visible changes and confirm essential controls and signals appear normal | Ride only if nothing needs resolution |
| Layer 2: parked-bike inspection | When Layer 1 reveals a concern, the bike has been inactive, or the manual calls for attention | Compare the issue with model-specific guidance and arrange appropriate service | Park the motorcycle until the concern is understood and addressed |
A good rule is simple: if the answer is not clearly “normal,” it is not a ride-now item. Do not turn a pre-ride check into an on-the-spot repair attempt. Park the motorcycle safely, consult its manual, and use qualified service when the issue is beyond the checks you are prepared and authorized to make.
Layer 1: the fast go/no-go scan
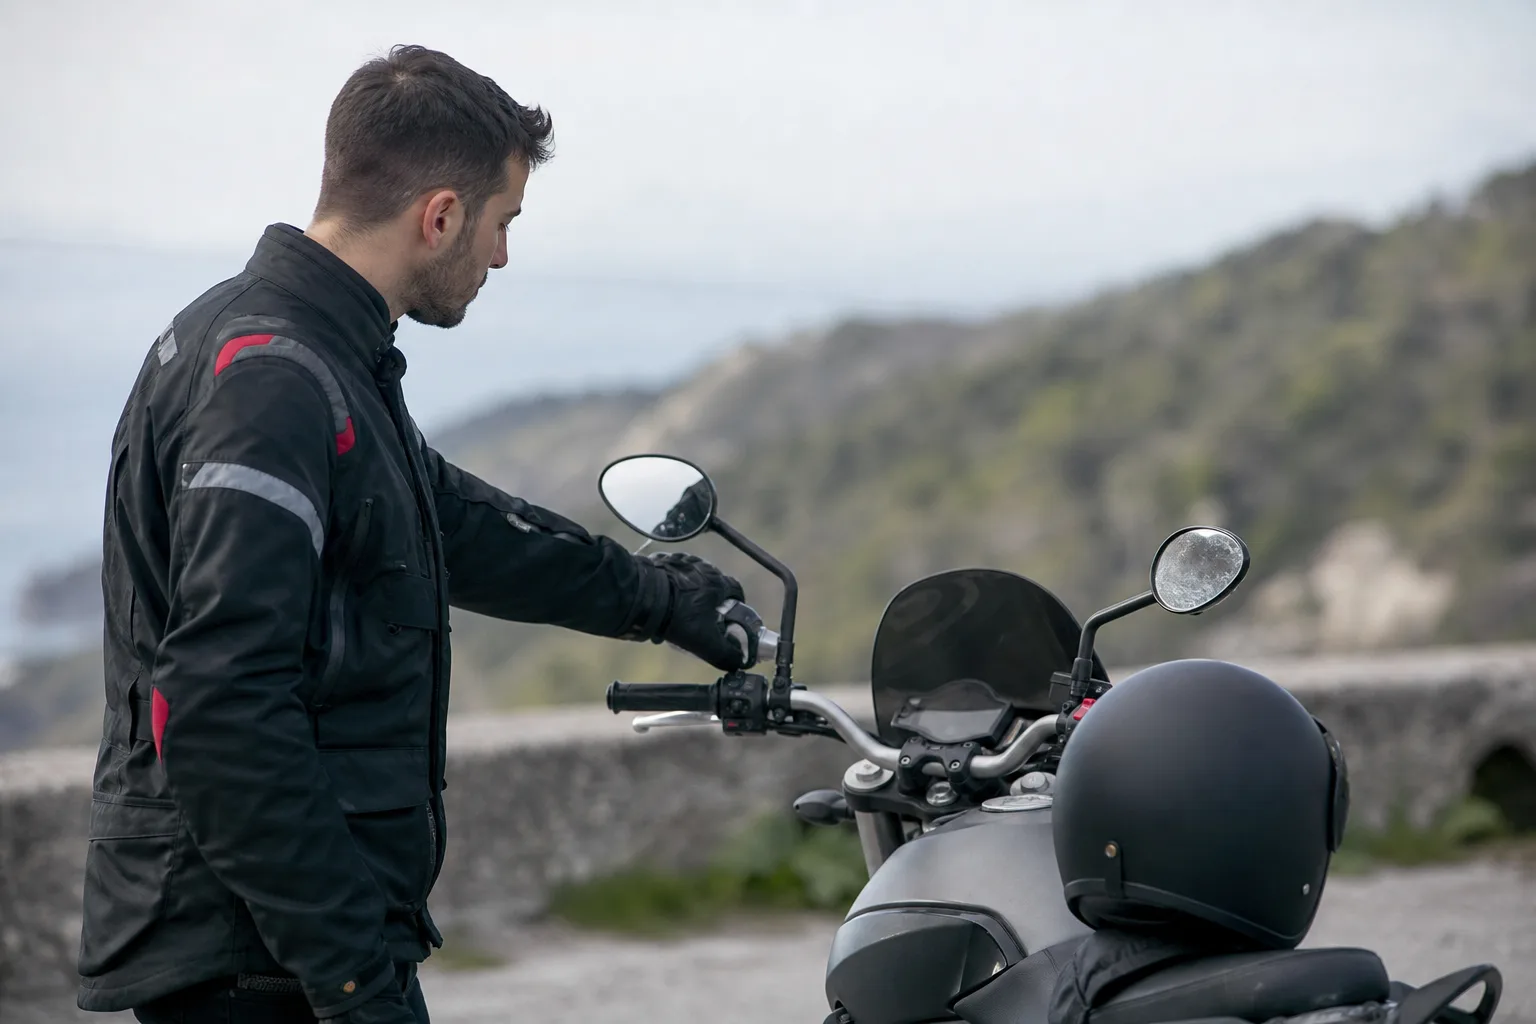
This is a short, consistent observation routine. Its value comes from repetition: you become familiar with what your own motorcycle normally looks, feels, and sounds like.
Motorcycle pre-ride go/no-go checklist
- Tires and wheels: Look for obvious damage, embedded objects, unusual wear, or a tire that appears low. Confirm pressure only according to the motorcycle manufacturer’s specified cold-check method and settings for the current load.
- Brakes and controls: Check that the handlebars move freely, controls are secure, and the throttle operates normally. Confirm both brakes can hold the parked motorcycle from rolling before departure.
- Lights and electrics: Confirm the headlight, tail/brake light, turn signals, mirrors, and required switches appear functional. Check the brake light with each brake control.
- Oil, fuel, coolant, and leaks: Look under and around the motorcycle for fresh fluid. Check levels only as the owner’s manual directs; different models specify different temperatures, positions, and procedures.
- Chassis and drive: Look for an obvious loose, damaged, or displaced part. On a chain- or belt-driven motorcycle, note anything visibly abnormal rather than assuming a generic adjustment is correct.
- Stands: Confirm the side stand or center stand is not visibly damaged and returns or holds as it normally should.
- Rider readiness: If you are rushed, impaired, too fatigued, or distracted by a concern you have just found, delay the ride.
The scan is deliberately not a teardown. You are looking for changes that deserve attention: a new puddle, a damaged tire, a control that does not feel right, an inoperative light, or hardware that no longer appears secure.
Layer 2: the parked-bike inspection

Move to Layer 2 when the quick scan gives you an uncertain result. This is also the right layer after a tip-over, a strike with road debris, a long storage period, or any event that could have changed the motorcycle’s condition.
Start with the owner’s manual and identify the relevant system. Its instructions take priority over a universal checklist because designs differ substantially among motorcycles.
| What you noticed | Conservative next step |
|---|---|
| A fresh or unexplained fluid trace | Keep the motorcycle parked; identify the fluid and follow the manual’s inspection guidance or arrange service. |
| Tire damage, an embedded object, or pressure that is not within the manual’s specified setting | Do not rely on a visual judgment alone; keep it parked until the tire condition and pressure are properly assessed. |
| Brake control, braking response, or brake-light concern | Do not ride until the concern has been checked against the manual and resolved. |
| A throttle, clutch, steering, cable, hose, or switch that binds, catches, leaks, or behaves differently | Park it and seek model-specific guidance or qualified inspection. |
| A loose, cracked, bent, or missing visible part | Do not assume it is cosmetic; use the manual and qualified service to determine safe next steps. |
| A stand that does not seem secure or normal | Keep the motorcycle parked until its condition is understood. |
The purpose of this layer is not to diagnose from symptoms. It is to prevent uncertainty from becoming a ride decision.
Why the owner’s manual comes first
T-CLOCS gives riders a practical order for looking over a motorcycle, while the owner’s manual supplies the motorcycle-specific information that turns observation into a correct decision. The manual identifies approved inspection conditions, specifications, warning information, and scheduled maintenance for that particular model.
That makes manufacturer guidance especially important for tires, brake-fluid checks, coolant checks, drive-system condition, electronic warning indicators, loading, and any issue that may affect control. If your manual is missing, obtain the correct version for the motorcycle’s exact model and model year before relying on specifications.
A warning indicator, a strange noise, or a changed feel is not something a generic article can clear. Record what changed, keep the bike parked if safety could be affected, and consult the manufacturer documentation or a qualified technician.
Build consistency instead of rushing
Use the same route around the motorcycle every time. For example, begin at the front tire and wheel, continue through the controls and lighting, look below the engine and along the drive side, then finish at the stands. A consistent order makes omissions less likely.
Keep the scan short enough that you will actually use it. The deeper review is where you slow down. Separating the two avoids the common mistake of either skipping daily checks because they feel too involved or treating a quick glance as proof that a suspected fault is harmless.
Turn a Failed Check Into a Clear Next Action
When either layer finds a concern, label it instead of relying on memory: corrected and verified, requires workshop inspection, requires transport, or monitoring allowed by the manual. Do not move an item into “monitor” merely because departure time is approaching.
Record the observation, motorcycle mileage, conditions, supporting photo, relevant manual section, and who verified the correction. If a workshop is needed, share the symptom without prescribing a guessed part. After repair, repeat the affected check and update the record before returning to the ordinary quick-scan routine.
A recurring failure—pressure loss, loose item, changing control feel, intermittent light, or leak—should become a maintenance investigation, not a checkbox repeatedly reset before rides. The value of two layers is that the quick scan detects change while the deeper inspection gives that change a structured response.
Periodically perform the deeper layer even when the quick scan stays normal. Slow changes can become familiar and escape notice; a structured comparison with the manual, earlier photographs, and maintenance history helps restore an objective baseline.
How Vojo Helps
Create a recurring Pre-Ride Scan reminder in the motorcycle maintenance tracker, using the same T-CLOCS-based prompts each time you ride. If you find a new leak, warning, damaged tire, or abnormal control feel, log it as an issue with a photo and mark the motorcycle unavailable until you have checked the owner’s manual or arranged service. That leaves a clear record of what changed, when you noticed it, and what follow-up was completed.
Download Vojo on the App Store
Related reading
- Pre-Season Motorcycle Maintenance Checklist
- Motorcycle Tire Pressure: Why “Cold” Readings and Loaded Settings Matter
- Low Motorcycle Brake Fluid: What the Reservoir Level Can—and Cannot—Tell You
Sources
- Motorcycle Safety Foundation, T-CLOCS Pre-Ride Inspection Checklist.
- Motorcycle Safety Foundation, MSF Releases Motorcycle Pre-Ride Inspection How-To Video.
- Motorcycle Safety Foundation, Basic RiderCourse.
Quick answers
Frequently asked questions
How often should I do a motorcycle pre-ride inspection?
Do the fast go/no-go scan before every ride. Use the parked-bike inspection whenever you find a change, have a concern, return from storage, or reach an inspection point specified by your owner’s manual.
Is T-CLOCS a replacement for my motorcycle owner’s manual?
No. T-CLOCS is a useful inspection framework. Your owner’s manual remains the source for model-specific settings, limits, inspection conditions, warning information, and service requirements.
What should make me park the motorcycle rather than ride?
Park it when you find a fluid leak, tire damage or uncertain pressure, abnormal brake or throttle behavior, an electrical function that does not work as expected, a loose or damaged component, or a stand that does not seem secure. Consult the manual or arrange qualified inspection.
Should I check motorcycle tire pressure before every ride?
Include tire condition in every scan. Check pressure according to your manufacturer’s instructions, using the specified cold-check conditions and the setting appropriate to the motorcycle’s current load.
How long should a pre-ride scan take?
It should be brief enough to become routine. The goal is a consistent observation of key safety-related areas, not a detailed service procedure. Slow down and move to the parked-bike layer whenever something looks or feels different.